首先, 1.28.0是支持openssl3.5 build with HTTP3了
--with-openssl=openssl-3.5.0 --with-http_v3_module
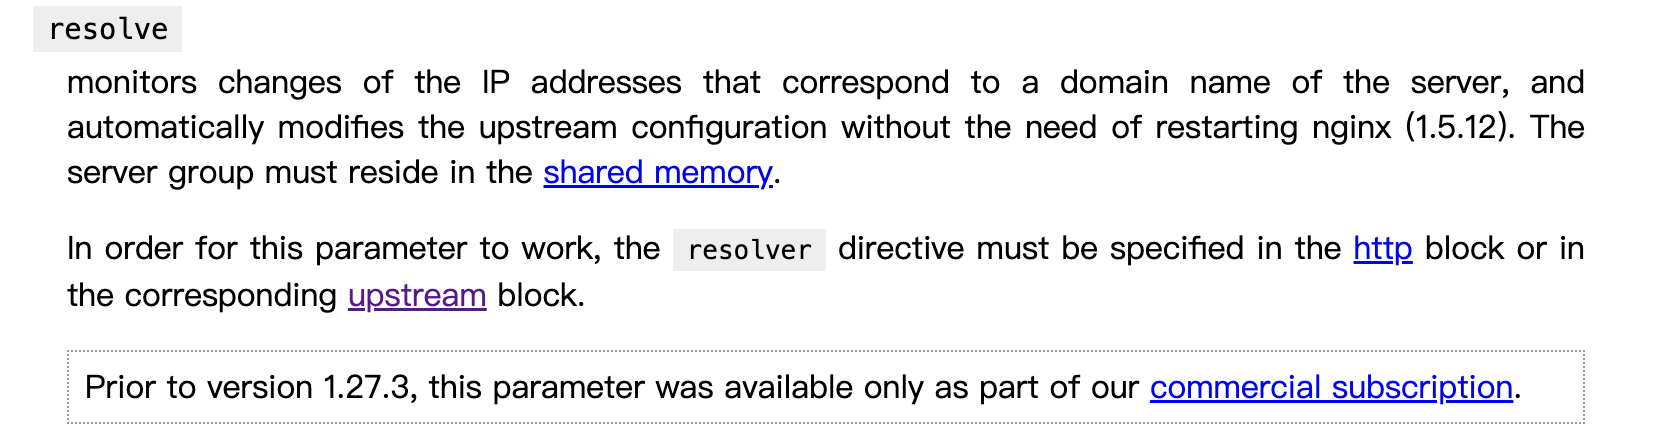
从nginx 官方HTTP3的文档看, OPENSSL是不支持early_data,也就是0-RTT的, 可以参考链接:https://nginx.org/en/docs/quic.html
An SSL library that provides QUIC support is recommended to build nginx, such as BoringSSL, LibreSSL, or QuicTLS. Otherwise, the OpenSSL compatibility layer will be used that does not support early data.
这里使用boringSSL和openSSL, 开启HTTP3 和 ssl_early_data on , 分别使用curl和wireshark听包做了测试


以上是使用chrome访问, 并使用wireshark 听包的结果, 可以看到openssl3.5支持H3但是不支持0-RTT
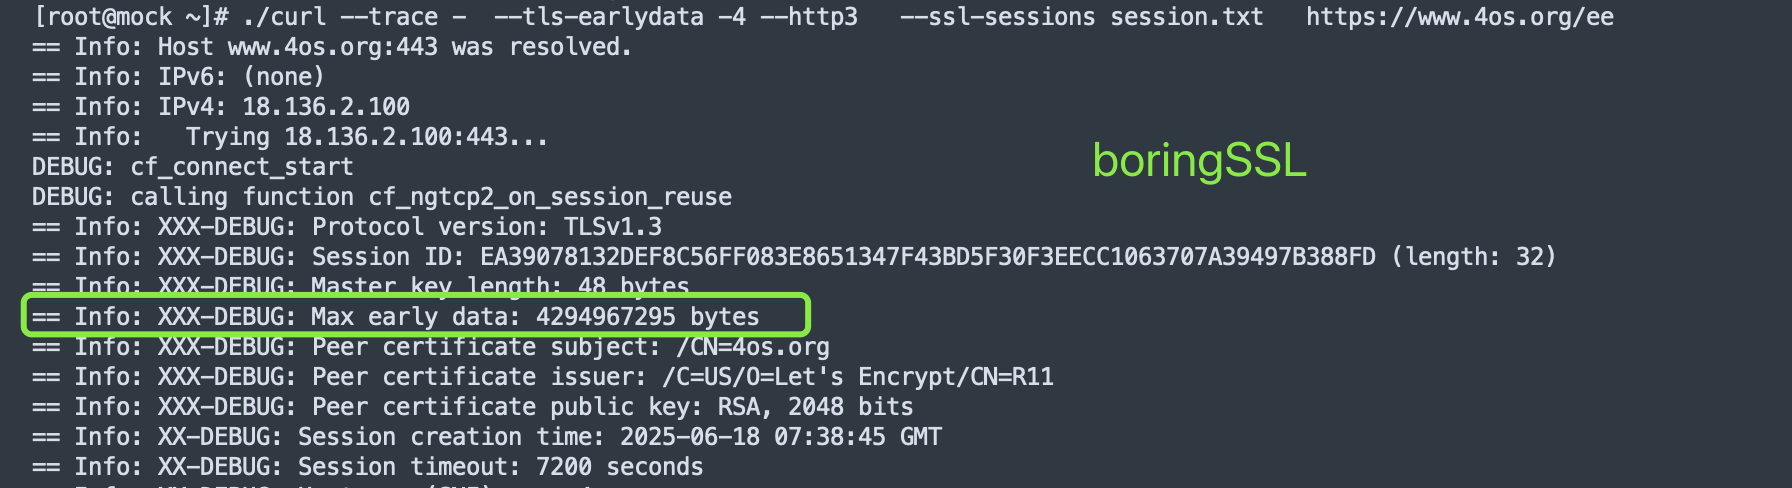
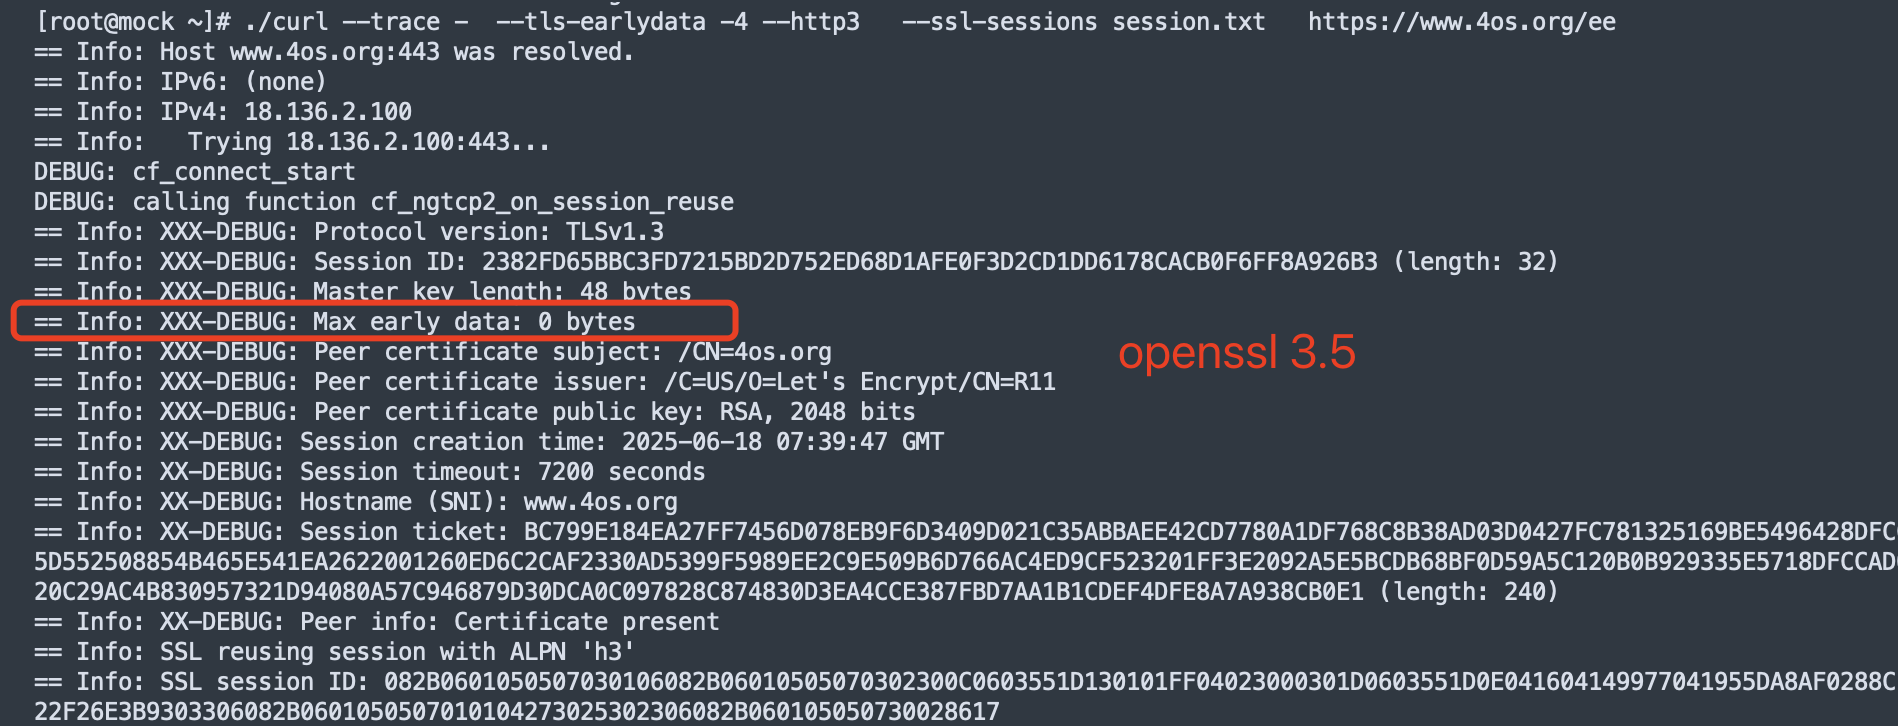
这是使用curl 8.14.1 增加了DEBUG代码后对比发现的, 可以看到openssl 并没有max early_data的值, 应该是这个原因导致H3 0-RTT失败
主要修改了curl代码里边lib/vtls/openssl.c ossl_init_session_and_alpns函数
/* 将二进制数据转换为十六进制字符串 */
static void bin_to_hex(const unsigned char *bin, size_t len, char *out, size_t out_size) {
size_t i;
for (i = 0; i < len && i * 2 < out_size – 2; i++) {
snprintf(out + i * 2, 3, “%02X”, bin[i]);
}
out[i * 2] = ‘\0’;
}
/* 将协议版本转换为字符串 */
static const char *protocol_version_str(int version) {
switch (version) {
case SSL3_VERSION: return “SSLv3”;
case TLS1_VERSION: return “TLSv1.0”;
case TLS1_1_VERSION: return “TLSv1.1”;
case TLS1_2_VERSION: return “TLSv1.2”;
case TLS1_3_VERSION: return “TLSv1.3”;
default: return “Unknown”;
}
}
/* 将早期数据状态转换为字符串 */
static const char *early_data_status_str(int status) {
switch (status) {
case SSL_EARLY_DATA_ACCEPTED: return “Accepted”;
case SSL_EARLY_DATA_REJECTED: return “Rejected”;
case SSL_EARLY_DATA_NOT_SENT: return “None”;
default: return “Unknown”;
}
}
/* 获取公钥信息 */
static void get_pubkey_info(EVP_PKEY *pkey, char *out, size_t out_size) {
if (!pkey) {
snprintf(out, out_size, “None”);
return;
}
int key_type = EVP_PKEY_base_id(pkey);
switch (key_type) {
    case EVP_PKEY_RSA: {
        int bits = EVP_PKEY_bits(pkey);
        snprintf(out, out_size, "RSA, %d bits", bits);
        break;
    }
    case EVP_PKEY_EC: {
        const EC_KEY *ec_key = EVP_PKEY_get0_EC_KEY(pkey);
        if (ec_key) {
            int nid = EC_GROUP_get_curve_name(EC_KEY_get0_group(ec_key));
            const char *curve_name = OBJ_nid2sn(nid);
            snprintf(out, out_size, "EC, curve %s", curve_name ? curve_name : "Unknown");
        } else {
            snprintf(out, out_size, "EC, unknown curve");
        }
        break;
    }
    default: {
        const char *name = OBJ_nid2sn(key_type);
        snprintf(out, out_size, "%s", name ? name : "Unknown");
        break;
    }
}
}
static CURLcode
ossl_init_session_and_alpns(struct ossl_ctx *octx,
struct Curl_cfilter *cf,
struct Curl_easy *data,
struct ssl_peer *peer,
const struct alpn_spec *alpns_requested,
Curl_ossl_init_session_reuse_cb *sess_reuse_cb)
{
struct ssl_config_data *ssl_config = Curl_ssl_cf_get_config(cf, data);
struct alpn_spec alpns;
char error_buffer[256];
CURLcode result;
Curl_alpn_copy(&alpns, alpns_requested);
octx->reused_session = FALSE;
if(ssl_config->primary.cache_session) {
struct Curl_ssl_session *scs = NULL;
result = Curl_ssl_scache_take(cf, data, peer->scache_key, &scs);


if(!result && scs && scs->sdata && scs->sdata_len) {
  const unsigned char *der_sessionid = scs->sdata;
  size_t der_sessionid_size = scs->sdata_len;
  SSL_SESSION *ssl_session = NULL;

  /* If OpenSSL does not accept the session from the cache, this
   * is not an error. We just continue without it. */
  ssl_session = d2i_SSL_SESSION(NULL, &der_sessionid,
                                (long)der_sessionid_size);
  if(ssl_session) {

    /* XX-DEBUG */
    int proto_version = SSL_SESSION_get_protocol_version(ssl_session);
    infof(data, "XXX-DEBUG: Protocol version: %s", protocol_version_str(proto_version));


    unsigned int sid_len;
    const unsigned char *sid = SSL_SESSION_get_id(ssl_session, &sid_len);
    char sid_hex[256] = "";
    bin_to_hex(sid, sid_len, sid_hex, sizeof(sid_hex));
    infof(data, "XXX-DEBUG: Session ID: %s (length: %u)", sid_hex, sid_len);


    unsigned char master_key[SSL_MAX_MASTER_KEY_LENGTH];
    size_t master_key_len = SSL_SESSION_get_master_key(ssl_session, master_key, sizeof(master_key));
    infof(data, "XXX-DEBUG: Master key length: %zu bytes", master_key_len);

    /*const SSL_CIPHER *cipher = SSL_SESSION_get0_cipher(scs->sdata);
    const char *cipher_name = cipher ? SSL_CIPHER_get_name(cipher) : "Unknown";
    infof(data, "XXX-DEBUG: Cipher suite: %s\n", cipher_name);*/

    uint32_t max_early_data = SSL_SESSION_get_max_early_data(ssl_session);
    infof(data, "XXX-DEBUG: Max early data: %u bytes", max_early_data);

    /* 早期数据状态 没找到这个函数*/
    /*int early_data_status = SSL_SESSION_get_early_data_status(ssl_session);
    infof(data, "XXX-DEBUG: Early data status: %s\n", early_data_status_str(early_data_status));*/

    /* 证书链:主题、颁发者、公钥 */
    X509 *peer_cert = SSL_SESSION_get0_peer(ssl_session);
    if (peer_cert) {

        char subject_str[256];
        X509_NAME *subject = X509_get_subject_name(peer_cert);
        X509_NAME_oneline(subject, subject_str, sizeof(subject_str));
        infof(data, "XXX-DEBUG: Peer certificate subject: %s", subject_str);


        char issuer_str[256];
        X509_NAME *issuer = X509_get_issuer_name(peer_cert);
        X509_NAME_oneline(issuer, issuer_str, sizeof(issuer_str));
        infof(data, "XXX-DEBUG: Peer certificate issuer: %s", issuer_str);


        char pubkey_info[256];
        EVP_PKEY *pubkey = X509_get0_pubkey(peer_cert);
        get_pubkey_info(pubkey, pubkey_info, sizeof(pubkey_info));
        infof(data, "XXX-DEBUG: Peer certificate public key: %s", pubkey_info);
        EVP_PKEY_free(pubkey);
    } else {
        infof(data, "XXX-DEBUG: Peer certificate: None");
    }


    long session_time = SSL_SESSION_get_time(ssl_session);
    char time_str[64];
    struct tm *tm = gmtime(&session_time);
    strftime(time_str, sizeof(time_str), "%Y-%m-%d %H:%M:%S GMT", tm);
    infof(data, "XXX-DEBUG: Session creation time: %s", time_str);


    long timeout = SSL_SESSION_get_timeout(ssl_session);
    infof(data, "XXX-DEBUG: Session timeout: %ld seconds", timeout);


    const char *hostname = SSL_SESSION_get0_hostname(ssl_session);
    infof(data, "XXX-DEBUG: Hostname (SNI): %s", hostname ? hostname : "None");


    const unsigned char *ticket;
    size_t ticket_len;
    SSL_SESSION_get0_ticket(ssl_session, &ticket, &ticket_len);
    char ticket_hex[512] = "";
    bin_to_hex(ticket, ticket_len, ticket_hex, sizeof(ticket_hex));
    infof(data, "XXX-DEBUG: Session ticket: %s (length: %zu)", ticket_hex, ticket_len);

    /* 对端信息(简化为证书存在性) */
    infof(data, "XXX-DEBUG: Peer info: %s", peer_cert ? "Certificate present" : "No peer info");
    /* XX-DEBUG END */