这边有个需求, 让bind 的query_log 只记录ipv4的A记录请求
解决办法:
修改代码query.c 里边记录query_log的部分, 增加一个 客户端query.qtype的判断
--- bind-9.11.14/bin/named/query.c      2019-12-12 13:17:55.000000000 +0800
 +++ bind-9.11.14.mod/bin/named/query.c  2020-03-05 16:57:31.766000000 +0800
 @@ -9548,8 +9548,6 @@
                 return;
         }
 if (ns_g_server->log_queries)
 log_query(client, saved_flags, saved_extflags);
 /*  * Check for meta-queries like IXFR and AXFR.
 @@ -9559,6 +9557,10 @@
     client->query.qtype = qtype = rdataset->type;
     dns_rdatatypestats_increment(ns_g_server->rcvquerystats, qtype);
 if ( (ns_g_server->log_queries) && (client->query.qtype == dns_rdatatype_a) ){
 log_query(client, saved_flags, saved_extflags);
 }
 +
     log_tat(client);
 if (dns_rdatatype_ismeta(qtype)) {
qtype 分以下种类
enum {
	dns_rdatatype_none = 0,
	dns_rdatatype_a = 1,
	dns_rdatatype_ns = 2,
	dns_rdatatype_md = 3,
	dns_rdatatype_mf = 4,
	dns_rdatatype_cname = 5,
	dns_rdatatype_soa = 6,
	dns_rdatatype_mb = 7,
	dns_rdatatype_mg = 8,
	dns_rdatatype_mr = 9,
	dns_rdatatype_null = 10,
	dns_rdatatype_wks = 11,
	dns_rdatatype_ptr = 12,
	dns_rdatatype_hinfo = 13,
	dns_rdatatype_minfo = 14,
	dns_rdatatype_mx = 15,
	dns_rdatatype_txt = 16,
	dns_rdatatype_rp = 17,
	dns_rdatatype_afsdb = 18,
	dns_rdatatype_x25 = 19,
	dns_rdatatype_isdn = 20,
	dns_rdatatype_rt = 21,
	dns_rdatatype_nsap = 22,
	dns_rdatatype_nsap_ptr = 23,
	dns_rdatatype_sig = 24,
	dns_rdatatype_key = 25,
	dns_rdatatype_px = 26,
	dns_rdatatype_gpos = 27,
	dns_rdatatype_aaaa = 28,
	dns_rdatatype_loc = 29,
	dns_rdatatype_nxt = 30,
	dns_rdatatype_srv = 33,
	dns_rdatatype_naptr = 35,
	dns_rdatatype_kx = 36,
	dns_rdatatype_cert = 37,
	dns_rdatatype_a6 = 38,
	dns_rdatatype_dname = 39,
	dns_rdatatype_opt = 41,
	dns_rdatatype_apl = 42,
	dns_rdatatype_ds = 43,
	dns_rdatatype_sshfp = 44,
	dns_rdatatype_ipseckey = 45,
	dns_rdatatype_rrsig = 46,
	dns_rdatatype_nsec = 47,
	dns_rdatatype_dnskey = 48,
	dns_rdatatype_dhcid = 49,
	dns_rdatatype_nsec3 = 50,
	dns_rdatatype_nsec3param = 51,
	dns_rdatatype_hip = 55,
	dns_rdatatype_spf = 99,
	dns_rdatatype_unspec = 103,
	dns_rdatatype_tkey = 249,
	dns_rdatatype_tsig = 250,
	dns_rdatatype_dlv = 32769,
	dns_rdatatype_keydata = 65533,
	dns_rdatatype_ixfr = 251,
	dns_rdatatype_axfr = 252,
	dns_rdatatype_mailb = 253,
	dns_rdatatype_maila = 254,
	dns_rdatatype_any = 255
};
参考文档:
https://users.isc.org/~each/doxygen/bind9/structns__query.html
https://ri.co.cr/training/dccom/bind-9.8.2/lib/dns/include/dns/enumtype.h


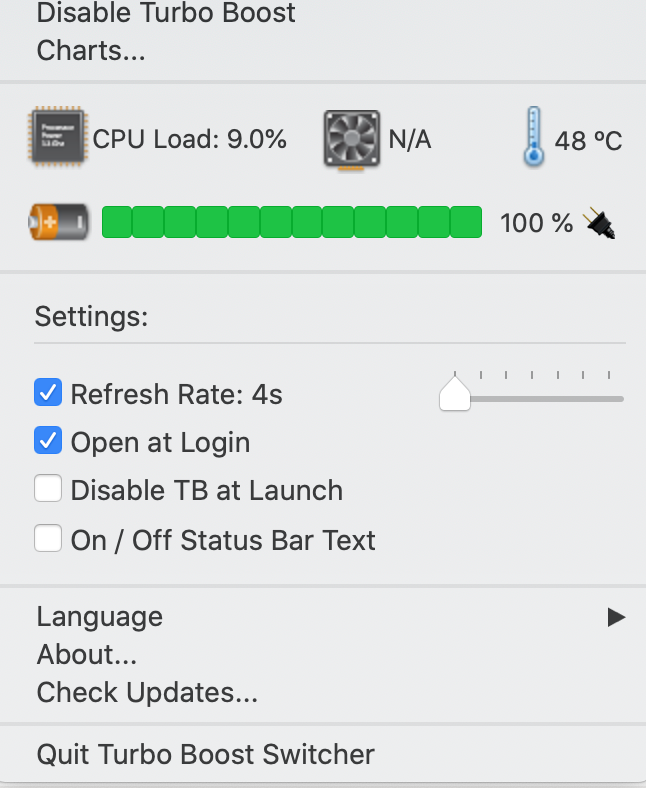 一般日常负载下48-60度之间, 风扇一般都是不转的